Why Skylights Leak and How They're Properly Sealed
Skylights leak from failed gaskets, flashing gaps, or indoor condensation. Learn how to tell the difference and how professionals reseal them permanently.
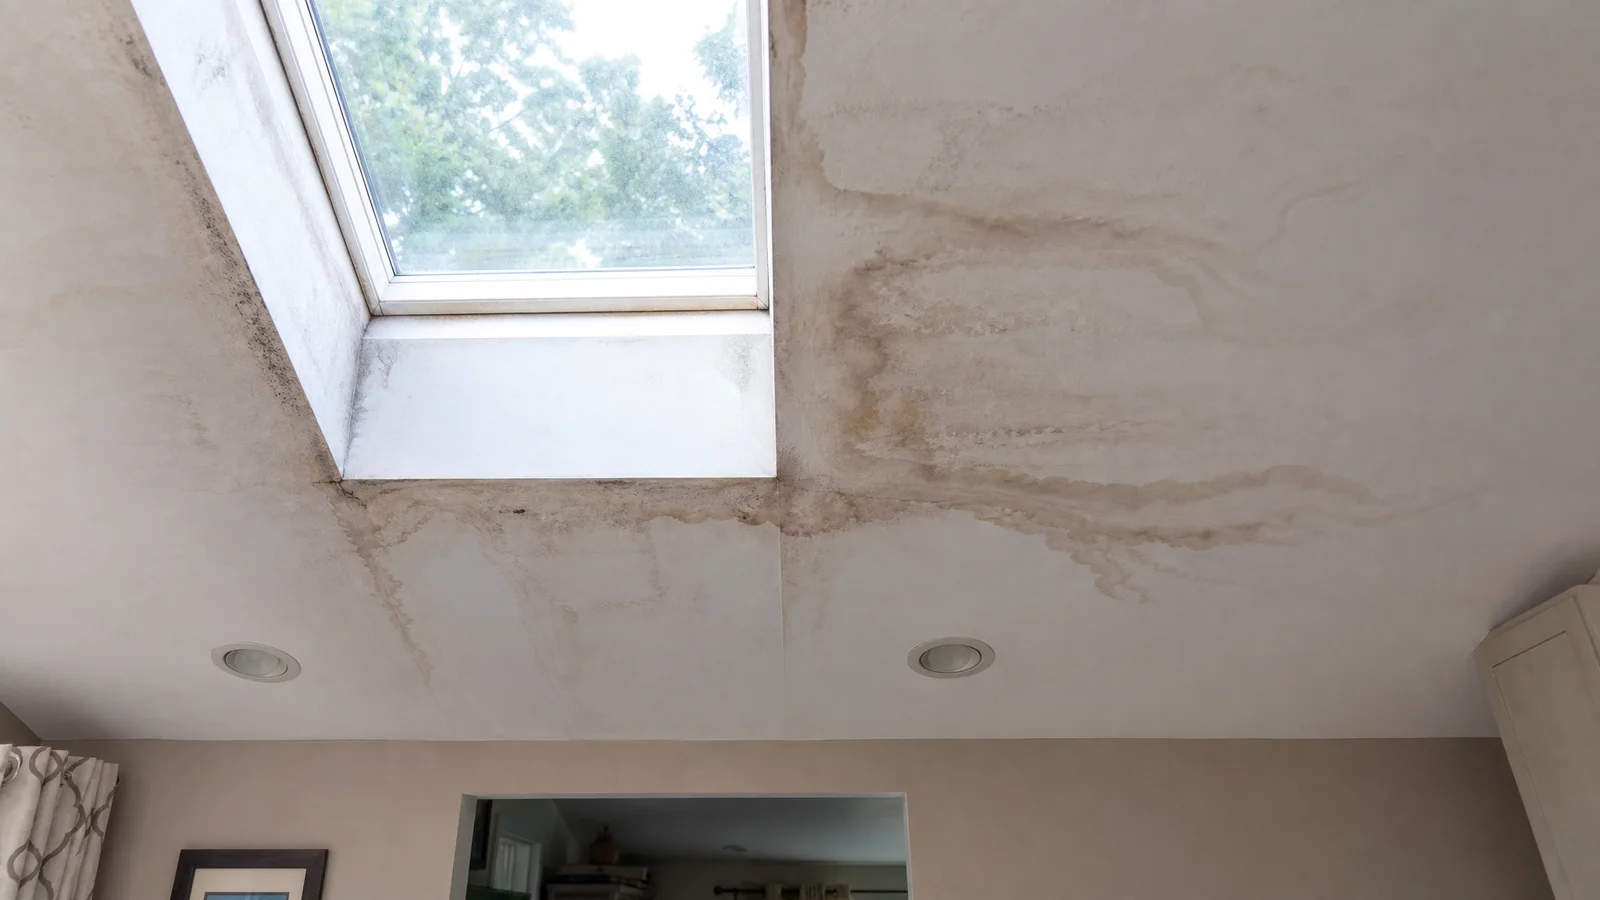
A skylight is supposed to bring natural light into your home. When it starts dripping onto the ceiling below, finding the actual cause is the first step toward a permanent fix. Not every drip is a roof leak, and not every roof leak requires a full replacement.
West Hartford Roofing has inspected thousands of skylight installations across the Greater Hartford area. This guide explains the specific signs that distinguish condensation from a true leak, identifies the five most common failure points, and walks through the professional reseal process.
Condensation vs. true leak: how to tell the difference
The repair approach changes entirely based on what is actually causing the moisture. Treating condensation as a roof leak wastes money, and ignoring a real leak while adjusting humidity causes water damage. Here is how to distinguish between the two.
| Symptom | Condensation | True Leak |
|---|---|---|
| Where moisture appears | On the interior side of the glass | Around the frame edge or on the ceiling |
| Weather correlation | Occurs in cold weather with humid interiors | Worsens during and after wind-driven rain |
| Behavior over time | Clears when heat rises or humidity drops | Ceiling stain spreads progressively |
| Attic condition | No moisture near the unit | Damp insulation or wet framing visible |
Condensation problems are most common in kitchens and bathrooms with inadequate mechanical ventilation. US residential building codes require proper exhaust in these spaces. Installing a smart fan with a built-in condensation sensor, like the Panasonic WhisperGreen Select, automatically activates exhaust when humidity rises.
A true leak correlates directly with rain and wind. Look for spreading ceiling stains and damp attic insulation near the unit. The repair happens on the roof side, not inside the house.
Five places where skylights actually fail
Water enters through specific weak points in the skylight assembly. These vulnerable transition areas bear the brunt of UV exposure and extreme weather. Knowing where to look helps catch problems before they cause serious interior damage.
1. Perimeter flashing
The metal skirt tying the unit into the surrounding shingles is the most frequent leak source. The International Residential Code mandates strict flashing protocols for roof penetrations in Chapter 9. Adding rubberized ice-and-water shield underlayment beneath the flashing provides necessary backup protection. See our guide on flashing repair for more detail on how these systems work.
2. Head flashing at the top edge
Water rushing down the roof slope strikes the upper edge of the frame with significant force. Building codes require a minimum 4-inch curb for roofs with a pitch below 3:12 to prevent pooling. A failed head flashing allows water to sheet directly over or behind the unit.
3. Rubber gaskets around the sash
EPDM rubber weather seals dry out and crack after years of intense UV radiation. These gaskets typically fail between the 10- and 15-year mark. Once the seal breaks, wind-driven rain enters through the gap between the glass and the frame.
4. Glass-to-frame seal
On older models, the bond between the glass pane and the metal housing breaks down from daily thermal expansion and contraction. Modern low-E insulated glass panels cycle through temperature swings constantly, and this fatigue eventually separates the original factory seal.
5. Exposed nail heads in the flashing kit
Standard nails used in place of proper galvanized steel roofing fasteners rust and create entry points for water. Applying UV-resistant sealant over exposed fastener heads prevents this slow intrusion.
The professional reseal process
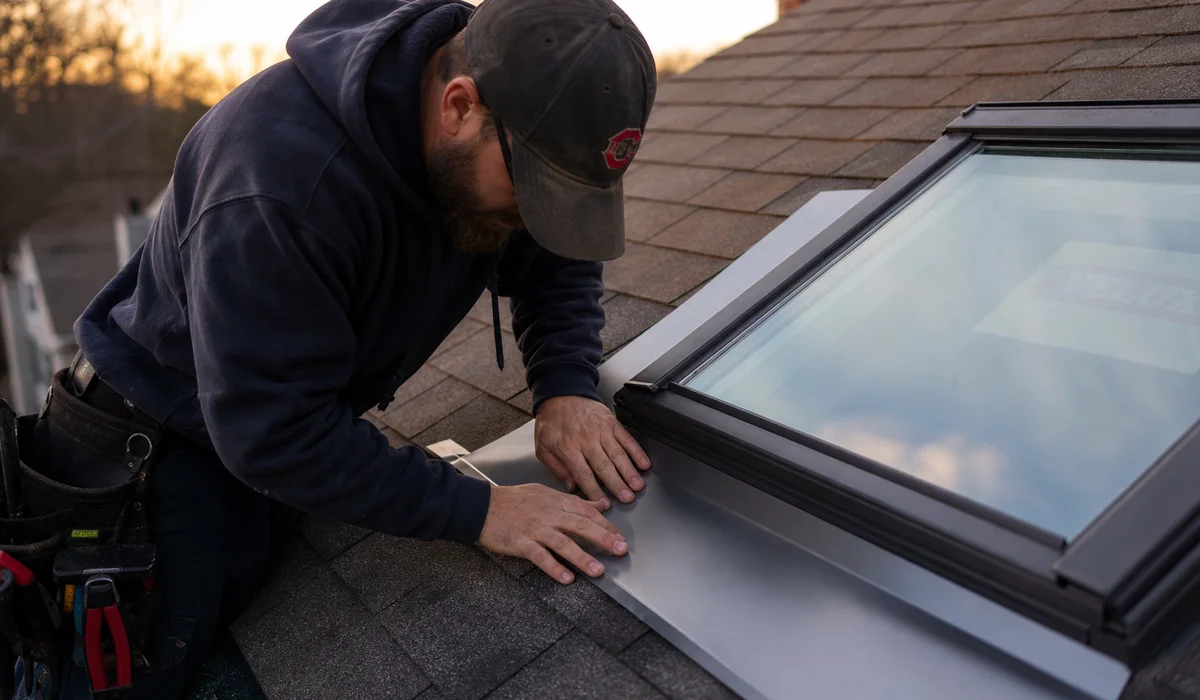
A proper reseal is not a surface caulk job. It involves stripping surrounding shingles, cleaning exposed metal, and installing a new manufacturer-approved flashing kit. West Hartford Roofing follows a strict seven-step checklist for every skylight repair.
- Inspect from both sides. Examine the roof surface and the interior ceiling to pinpoint the exact failure location. (30-45 minutes)
- Remove surrounding shingles. Carefully pull back the courses around the unit to expose the bare flashing. (30-60 minutes)
- Assess the flashing condition. Determine whether to clean and reseal the existing metal or remove and replace it entirely.
- Install the manufacturer’s flashing kit. Engineered kits are designed to work with specific skylight models. Generic caulk is not a substitute. (1-2 hours)
- Replace failed gaskets. Swap cracked or hardened EPDM seals on the sash itself.
- Reinstall shingles. Lay the courses back around the new flashing in the correct overlap pattern. (30-60 minutes)
- Water test the completed seal. Run water over the finished repair to verify watertight performance before leaving the roof.
Premium silicone sealants like GE Supreme require just 30 minutes of cure time to become rain-ready. Cheap acrylic caulks break down within a season and should never be used as a primary seal.
Repair vs. replacement: when each makes sense
| Factor | Repair | Replace |
|---|---|---|
| Typical Cost | $300 - $800 | $600 - $2,500 |
| Lifespan Added | 2 - 5 years | 15 - 20+ years |
| Energy Efficiency | No improvement | Significant upgrade with modern glazing |
Replacement makes more financial sense when the frame is warped, the glass has separated from the sash, the model has been discontinued, or the unit is over 20 years old with multiple failures. If you plan to replace the entire roof within the next 3 to 5 years, bundling the skylight replacement saves labor costs.
Through the end of 2026, the US Energy Efficient Home Improvement Credit offers a 30% tax credit. Homeowners can claim up to $600 per year for qualifying Energy Star skylight models.
Brands commonly found in West Hartford homes
Knowing your skylight brand helps source the correct replacement parts and flashing kits quickly.
- Velux: The most common residential choice, holding approximately 29% of the US market. Known for reliable solar-powered venting options and advanced low-E glazing.
- Fakro: A premium European manufacturer gaining ground rapidly, currently at roughly 17% US market share.
- Wasco: Popular for commercial projects and select residential builds requiring heavy-duty frames.
Using the manufacturer’s specified flashing kit and hardware keeps the factory warranty intact. Mismatched aftermarket components rarely provide a permanent seal against Connecticut weather.
What we will not do
Surface caulk over failing metal is not a repair. That shortcut might last a single season before thermal expansion breaks the cheap seal again. Proper flashing integration is the only proven method for permanent skylight sealing.
If you are dealing with a leaking skylight, see our skylight leak repair service or book an assessment for a clear diagnosis.
Frequently Asked Questions
Is it a leak or just condensation? ▼
Condensation appears mostly in cold weather when indoor humidity meets cold glass. You will see moisture on the interior side of the frame or glass. A true leak worsens during and just after rain, especially with wind.
Can a leaking skylight be resealed without replacement? ▼
Often yes. New perimeter flashing and gasket seals fix most leaks without replacing the entire unit, as long as the skylight frame is structurally sound.
When should the entire skylight be replaced? ▼
When the frame is warped, glass has separated from the sash, gaskets are beyond repair, or the unit is over 20 years old with multiple recurring failures. Chasing repeated repairs on an old unit rarely pays off.
Ready to talk to a roofer?
Read about our skylight leak repair service or get a free estimate.